Life Can Be In Tents

Here in Southern California, many of us are staying home in response to the “Safe at Home” order from California’s governor, Gavin Newsom, to battle the CoVid19 crisis. I’ve often wished for more time at home to get this project done or do that creative project. Now I do have extra time, and I struggle to figure out what to do next.

I watch the news. Although it is hard for me to conceive, experts say things will get harder in the next weeks. I can feel the anxiety that produces. Focus is fleeting in the midst of the uncertainty outside our front doors.

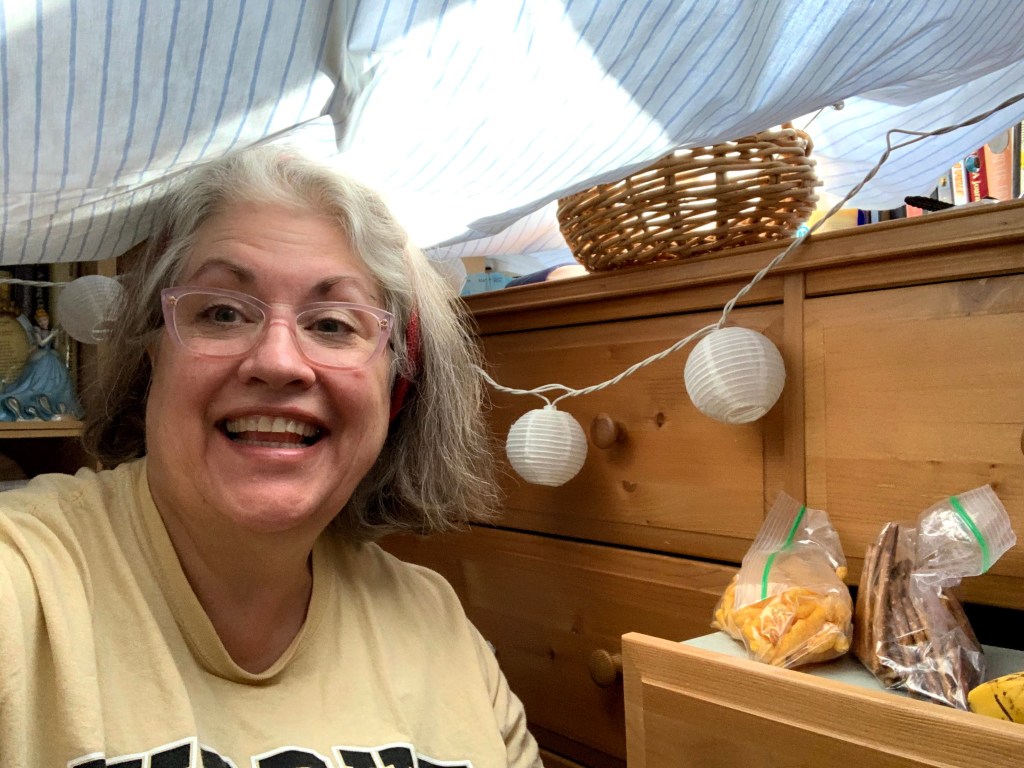
Last Saturday, I needed a break. I needed to do something for a few hours that could take me away from current reality with an engaging activity. It had to take place at home. I got a silly idea. I decided I was going to build a tent at home inside. I returned to a childhood activity that I loved.

I jumped on that idea, and it filled the afternoon with creative fun and sweet play. I found great joy in a stressful time. I feel a little vulnerable sharing this with you due to the high level of silly. This is not something one would typically do alone at my age.

But I really wanted to try. So I’ll share it with you and perhaps encourage you to play more, too. As a responsible 64-year old adult, I rarely take time to play. I had forgotten how great it can feel.

Here are the details of my unusual afternoon adventure. I was only limited by what I could find around the house, the size of the space selected, and my imagination. Every step was freeing and fun. Just plain fun. It also brought cheer by bringing to mind one of the reasons I loved working with fourth graders as a teacher. To play like a kid.

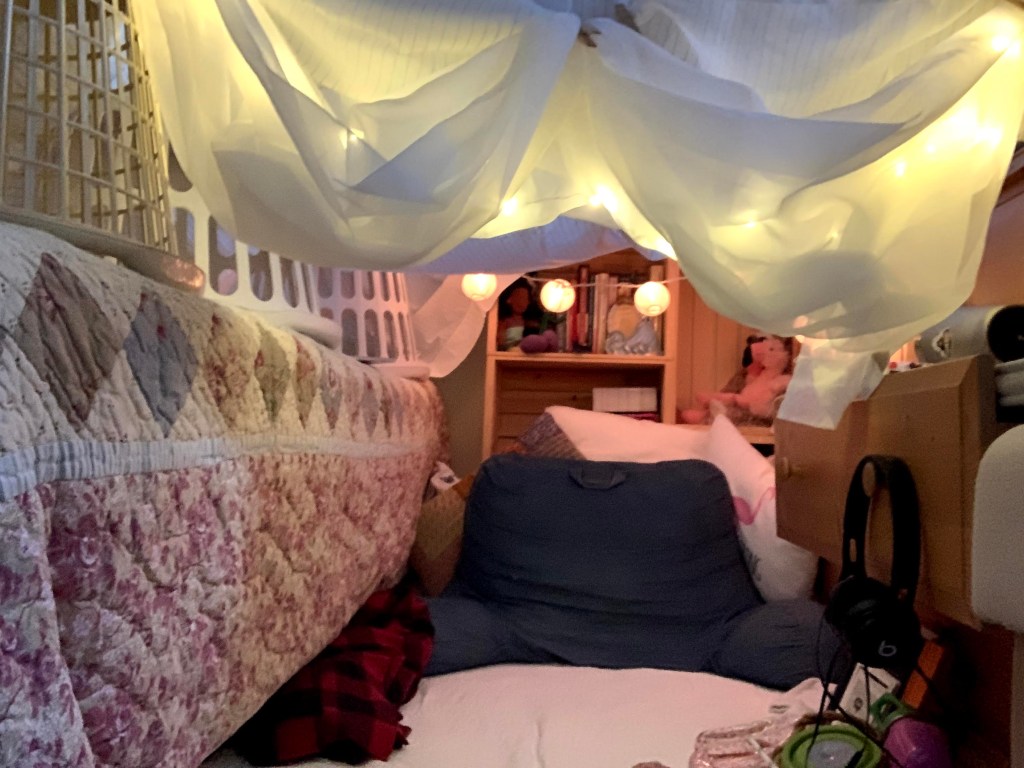
Step 1: Diagram the plan and make lists of things to include.

Step 2: Collect materials and supplies.

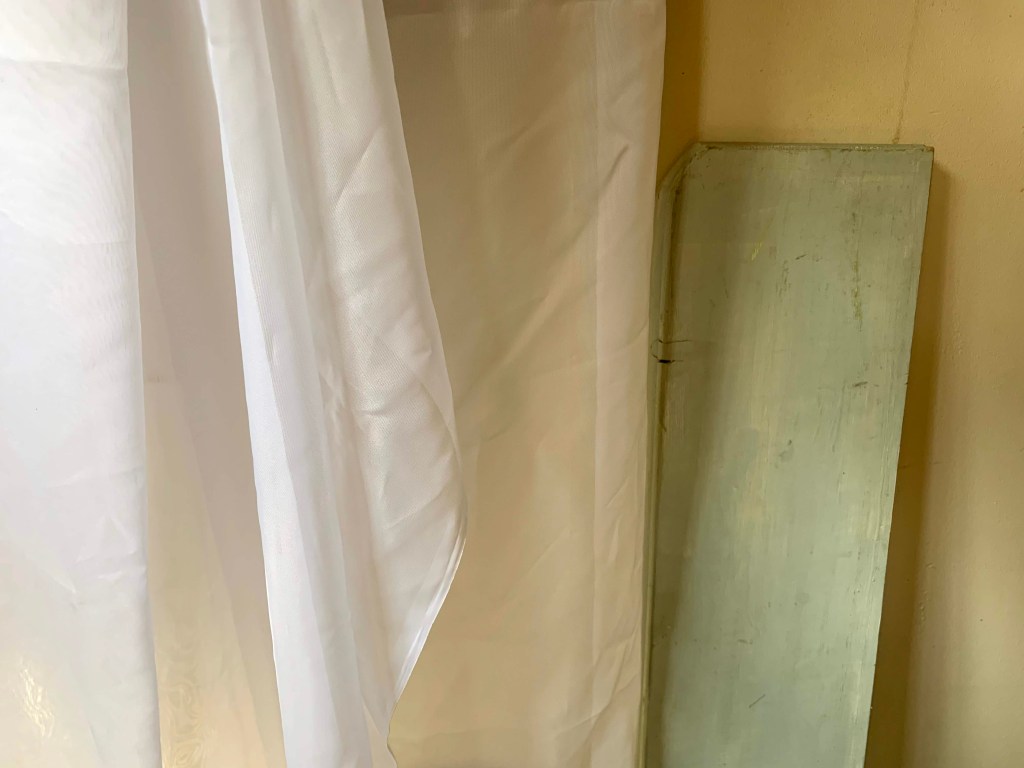
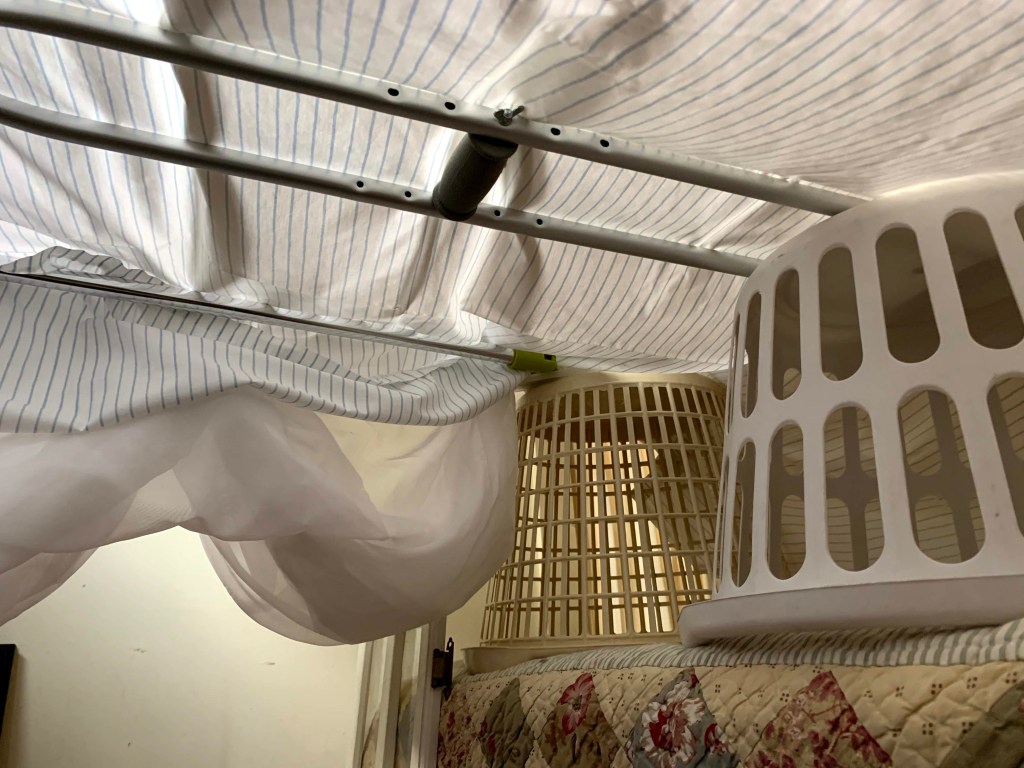
  • Crutches: Support beams
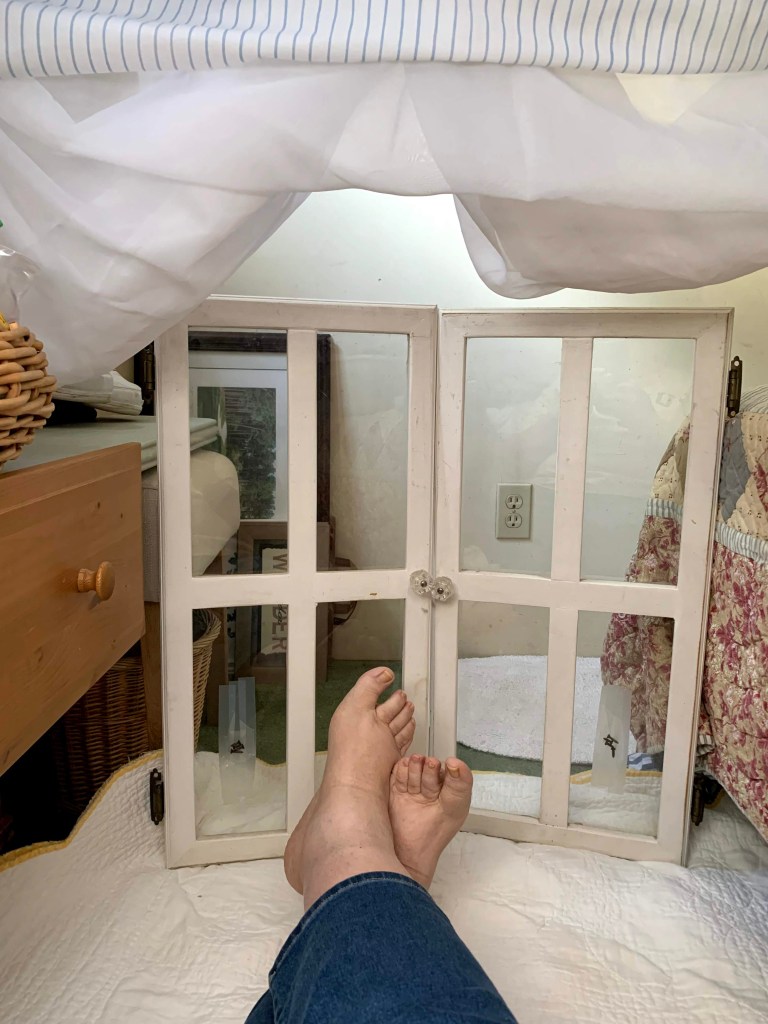
  • Pair of old windows: Small french doors for entrance
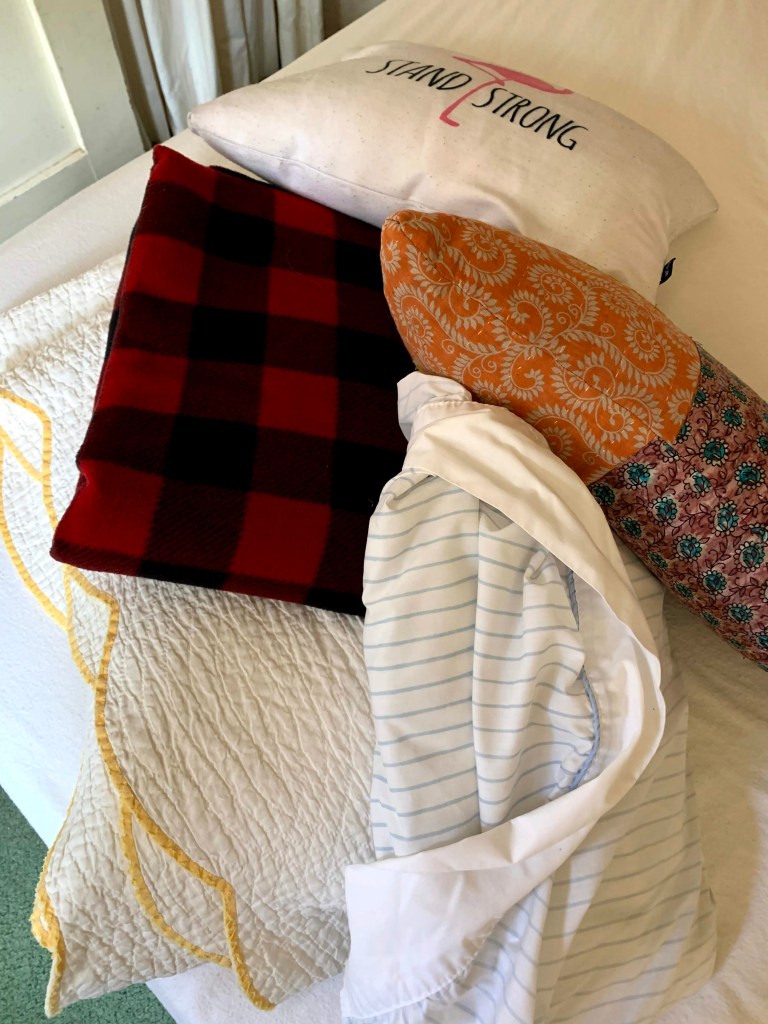
  • Sheets, quilt, blanket, and variety of pillows: Ceiling, floor, and supplies to get comfortable and cozy.
  • Things to do in tent: Book to read, craft book on lettering, bag of pens for lettering or writing, note writing bag (note cards), and headphones
  • Gauze curtain panel, shelf: Front entrance valence and snack shelf
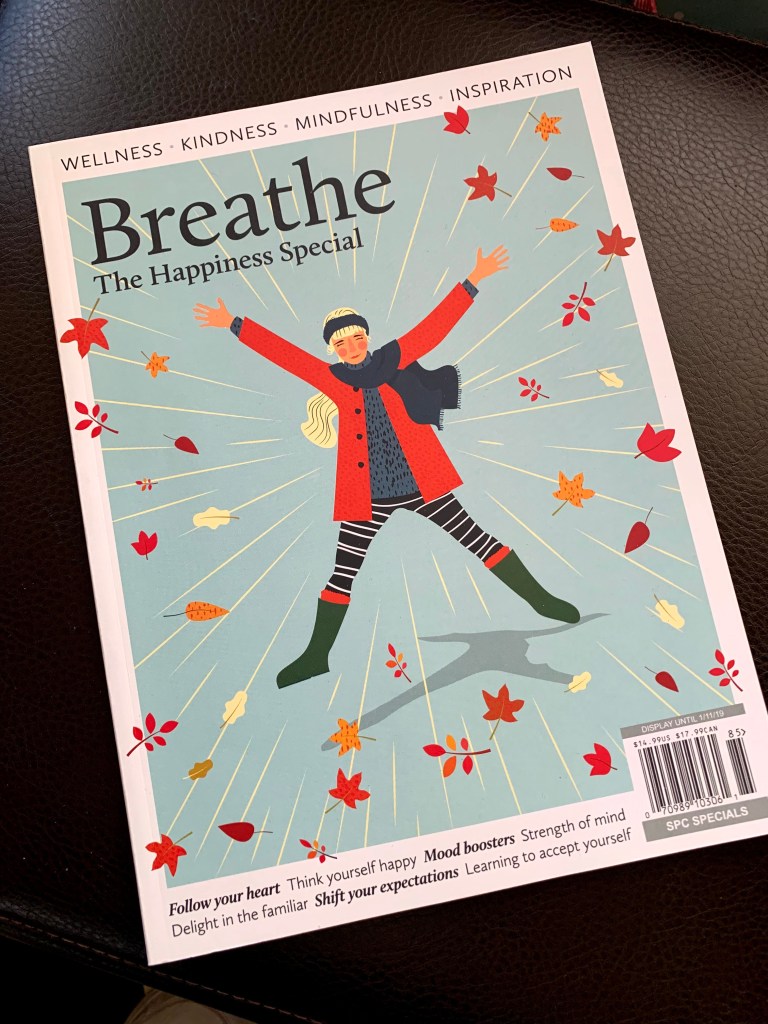
  • Magazine: For reading and relaxing

Step 3: Construct the tent using the highly technical engineering skill of trial and error.

I cleared the land in between the bed and dresser.
I put down the foundation. The carpet isn’t that clean. My grandmother’s white quilt went in next. I placed it on top of a clean sheet.
Naturally, I went for the laundry basket lift technique and crutches cross bars. Who wouldn’t? As a graduate of Purdue University, an engineering school, some design sense had rubbed off on me, even though I was an Education major. This design made the ceiling high enough for me to be comfortable. Plus, it provided more natural light and air.
The gauze valance was secured to the crutch with clothespins.
Next, I propped the pair of charming old windows at the opening to simulate tiny French doors, to add class, whimsy, and for a creative touch.
Of course a door mat made the entrance more official. You can also see my grandmother’s quilt now in place on the floor for a soft surface.

Step 4: Prepare some snacks for sustenance.

I rummaged through the kitchen and packed up the kind of things a kid would find to eat. Cashews, mini-marshmallows, Trader Joe’s Baked Cheese Crunchies, pretzels, and a banana. For a beverage, I loaded my small pink canteen with ice and sparkling water. Plus, I took a paper straw for my drink to create more of a party feel, and perhaps save an ocean turtle.

Step 5: Get into the tent and enjoy the afternoon.

My view from the inside looking toward the entrance. Getting my chill on.
The snack shelf with all the random goodies within reach. I found a spare shelf and placed it in a pulled out drawer to create this.
I enjoyed creating from my design, building a fun little tent, and relaxing inside for a few hours. “Safe at home” can be intense. Or…in tents.
I snacked, listened to music, read, and wrote a couple notes. I caught my breath. My body, mind, and emotions took a break from the CoVid19 weirdness.
Many of us are working hard to create interesting things to do at home. This was a big winner in my book. I had a blast in this silly seclusion.
At sunset, the globe lanterns came on and the entry way twinkle lights added a little magic, and signalling the end of a fun afternoon and my little tent.

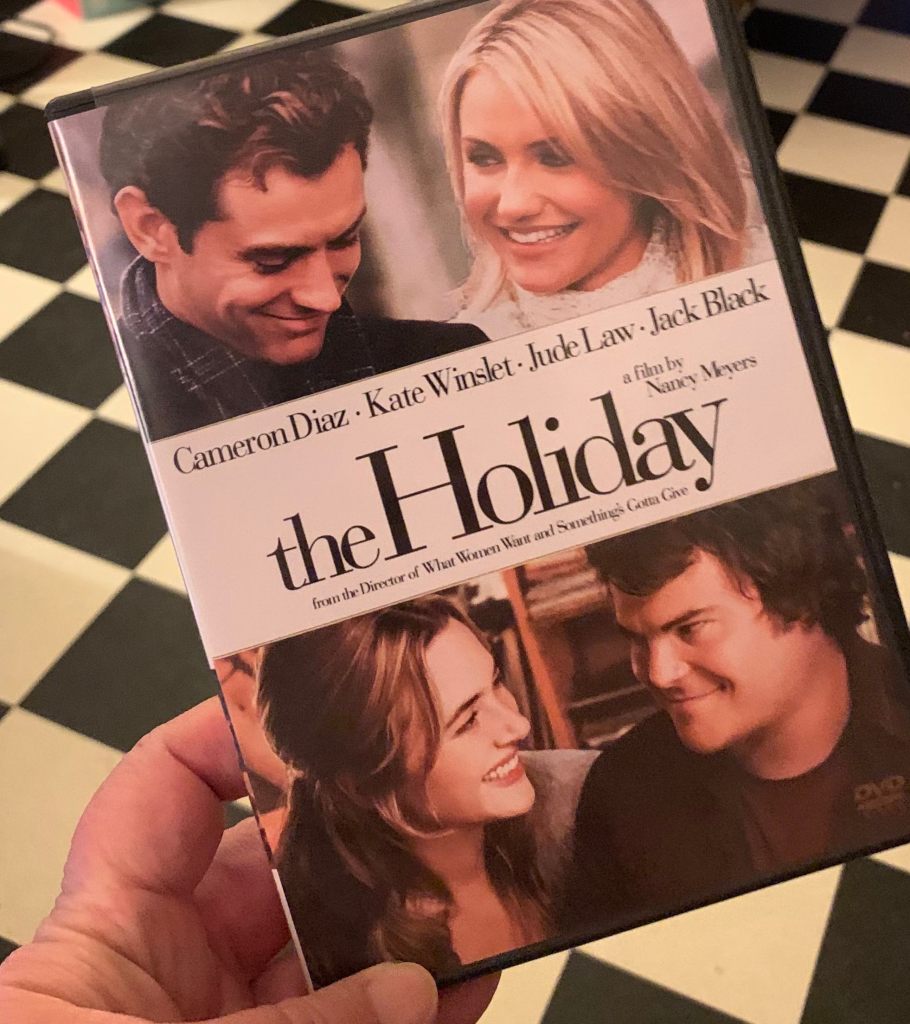
Perhaps you’ve guessed by now that my inspiration tent was the one in the movie Holiday. If you’ve seen the movie, you know the tent. If you haven’t seen it, I won’t give it away.

Once upon a time, many of us had to stay at home for weeks. Many of us will do our best to make the most of it. Though an odd and difficult time, some memories we create will last far beyond this pandemic. I am grateful for these good moments.

Remember, you’re never too old to make the best of a tough time. Stay home. Stay patient. Stay creative. Stay playful.

And stay charming, my friends.

Bunches of Blossoms

She made it look fun. She shared the ideas on Instragram. Then I wanted to see what I could do. Inspired and encouraged by my friend, Amy, at Tonality Designs, I took a chance and played with flowers this weekend.

We all know that Valentine’s Day was last Friday. We also know that flowers get overpriced, especially roses, at that time of year. Amy showed me a better way. She bought several bunches of flowers at Trader Joe’s and turned them into pretty arrangements to cheer up her home. She shared that the prices were reasonable.

I light heartedly challenged myself to a Valentine’s flower frenzy. I’ve learned that when I get tempted to compare myself to someone else’s creative ability, someone like Amy who does creative things really well, I tell myself, “Don’t miss out! At least try and see what you can do.” So that was my approach, following Amy’s lead and invitation to see what can happen.

I went to Trader Joe’s and bought five random bunches of flowers. Three at $3.99 each, and two at $2.99 each. I looked for the least expensive bunches, and whatever interested me. I don’t know the names of them, and that fits with my level of expertise and motivation to just try. I did get a burgundy bunch and a funky, pink, waxy, bubble bloom. I also got three bunches of white flowers.

And then things came to a screeching halt. At home, I put them in water, still in the packaging cellophane, and there they sat watching me for days. My schedule was busy and time went by. But tonight I got down to business.

I unwrapped the five bunches, gathered a variety of vases and containers on the table, and got going with a plant cutter and regular scissors. I trimmed them, separated them, and poked them into this vase and that glass. I ended up with about nine big and little bouquets of joy which are now scattered around the house. Those five bunches went a long way!

Dining Room Table
All white for the windowsill
Pop of color on the other windowsill
One big vase full, with a smaller jar in front
Next to the bathroom sink
On my desk
More in the bathroom

And I had a great evening! It didn’t take long. The arrangements came out good enough for me. I only spent about $18 for a house full of color and bloom. Awesome! This little adventure brought some playful creativity to my weekend and delight to our home for the week.

Thank you, Amy at Tonality Designs, for making it seem doable. To me, she is an expert on flowers and arranging bouquets, spending many Saturday mornings at the Los Angeles Flower Mart. Her posts on those outings and the results are enjoyable to read, too. So I finally took a chance on a bunch of blooms myself.

You can’t lose with pretty flowers. And like she says, it is always a good idea to buy yourself flowers! She was right. I am glad I tried. It was affordable and easy, when I viewed it as play and not something to enter at the state fair.

Stay charming, my friends! And remember to try something new soon and see how it goes. You might just be pleased. And so glad you did!